

 |
 |
 |
 |
 |
 |
 |
 |
los pequeñeos relojes de arena > mmm... brains.... > calabaza tallada >
conmemoración > calacas de arcilla > huesos deliciosos >
las calacas danzantes > sweet satisfaction > calavera charts >
magdalenas de muertos > he sees you when you're sleeping
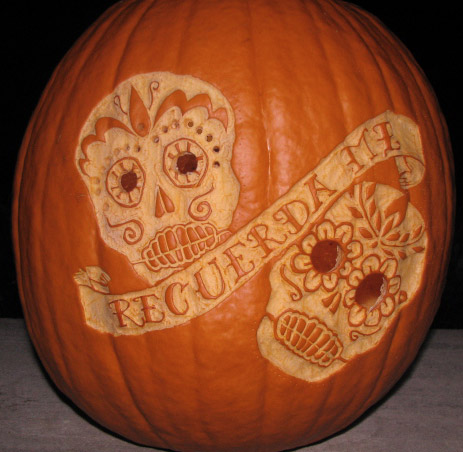
Raellyn Hatter (photo)
click to enlarge
What's the Samhain issue without a pumpkin from Raellyn?
Suggested Reading
The Halloween Tree
by Ray Bradbury
Difficulty
Cutthroat Should Be Coming Into The River
Click here for definitions of difficulty levels.
Finished Measurements
Design is 8.5"H and 11"W. Finished measurements depend on individual pumpkin size.
Download
Calabaza Tallada (pdf format)
Materials
- Pumpkin of suitable size for pattern you have chosen
- Tools for cleaning pumpkin: large, sharp knife and serving spoon or Pumpkin Masters™ Scraper Scoop.
- Tools for carving pumpkin: Niji™ woodcarving tools (they are cheap, not really good for carving wood but great on pumpkins, and widely available at art supply stores), a hobby knife, and Pumpkin Masters™ carving saws.
- Straight pins
- Newspapers or garbage bags to protect your work surface
Design Notes
All-peeled pumpkin patterns such as this one will need a small hole in the back bottom of the pumpkin to allow enough air flow for a candle to stay lit. If you are really feeling creative, carve out a skull-shaped hole in the back to throw another calavera onto a wall behind your pumpkin.
Step 1:
Print out the design you want to carve on your pumpkin. Estimate the amount of time you think it will take to carve it and then double that.
Step 2:
Cut a top in your pumpkin and clean it thoroughly. Scrape the inside of the pumpkin on the side where you want to put your design until it is 1/3" thick. This is very important; if the wall of the pumpkin is too thick, not enough light will come through the peeled areas and your design will be lost. Stick a pin in the pumpkin after scraping to help determine its thickness.
Step 3:
Transfer the design to the pumpkin using the Pumpkin Masters™ method: Pin the design to the pumpkin and poke holes into the pumpkin through the paper along the design lines. Following the key on the pattern, peel the areas on the pumpkin as indicated with an angled knife for the outlines and a shallow U-shaped gouge for the larger areas. Remember to peel thinly so that you don't accidentally cut through the pumpkin. After peeling, cut out the pattern pieces according to the key on the pattern.
Step 4:
Light a candle and place it in your pumpkin. Check the lid for a burnt spot and drill a small hole at that place for the chimney.
Place it on outside and enjoy it in the darkness!
About
 contact Raellyn:
• legal info
contact Raellyn:
• legal info
![]()
home • antifesto • this issue • archive • submit • errata • masthead • contact us • legal